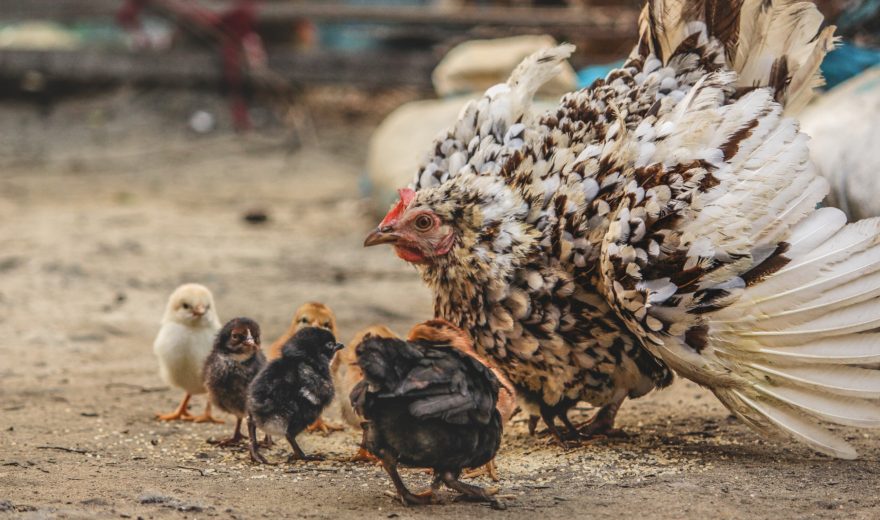
Springtime means chick time, and it's one of my favorite times of the year. Your nearby feed store is getting prepared for chick days and soon there will be lots of small chirping across the states.
When bringing home your new chicks, there are many things to consider on your chicken venture! Here are just a few:
Vaccinations are Key
Knowing the vaccine status of the new chicks is critical. Mixing your new chicks with current chickens could be exposing your current chickens to diseases/virus and vice versa.

It's best to quarantine the new chicks for at least a few weeks. Typically, depending on the vaccine, most chicks are vaccinated within the first day-to-three days. The most common range of diseases for vaccination are:
- Mareks Disease
- Infectious Bronchitis (IB)
- Avian RhinoTracheitis (ART)
- Mycoplasma gallisepticum (MG)
- Salmonella
Where will they live?
A brooding area should be set up for your chicks before bringing them home. If you have less than 30 chicks, a small box with at least 18-inch high sides will be sufficient, as this will keep drafts and pets away from them. Your brooding space needs to be able to be covered because chicks can easily escape without it.
Feed
While at your feed store, pick up a bag of starter feed. You're given two options: crumbles or mashed. Either is fine. Mash is going to be finer, but crumbles will be suitable as well. You will feed this “starter feed” to your chicks for about four weeks before moving on to a “grower feed”. You can mix these two if you have a substantial amount left over. This feeding regiment will move the birds into 16 weeks of age.
Grit
Just as your full-grown chickens need grit, your chicks will eventually need grit to grind up food and help with digestion. Provide a small cup or bowl of sand, parakeet gravel, or oyster shell around their third of fourth day.
Water
Access to clean water is necessary for your new chicks. When the chicks arrive, it's best to gently dip each chick’s beak into the water to encourage them to drink. I also use Vitamins & Electrolytes in their water to help give them an extra boost from their stressful trip home. Around the third day, I also add in Probiotics Daily to help maintain a healthy gut microflora.
To help keep the water clean, I suggest using a nipple waterer from day one. This will help reduce the spread of coccidiosis.
Heat
A chick’s living space must be kept very warm. This can be done with either a 250-watt infrared heat lamp or a radiant warming unit. Both options will keep the chicks warm.
If using a heat lamp, I might suggest using two lamps in case one burns out in the middle of night. With a radiant warming unit, the air isn’t warmed like with the heat lamp so the use of a space heater might be needed. The use of a thermometer is also a great tool to have on hand.
Approximate heat ranges to their age are as follows:
- Week 1 - 90 - 95°
- Week 2 - 85 - 90°
- Week 3 - 80 - 85°
- Week 4 - 75 - 80°
- Week 5, 6, 7 - 70 - 75°
- Week 8 - 65 - 70°
- Week 9 - 65° minimum
Space
Your chicks need at least ½ square foot per bird at the start. They will eventually end up needing 2 square feet per bird.
Keeping Your Chicks Healthy
Durvet offers many products that will help you to get started with your chicks and are great to have on hand for your entire flock.
- Vitamins & Electrolytes
- Probiotics Daily
- DuraStat with Oregano
- Poultry Power
- Strike III Natural
- FlyRid Plus Spray

 BACK TO MAIN BLOG
Comment