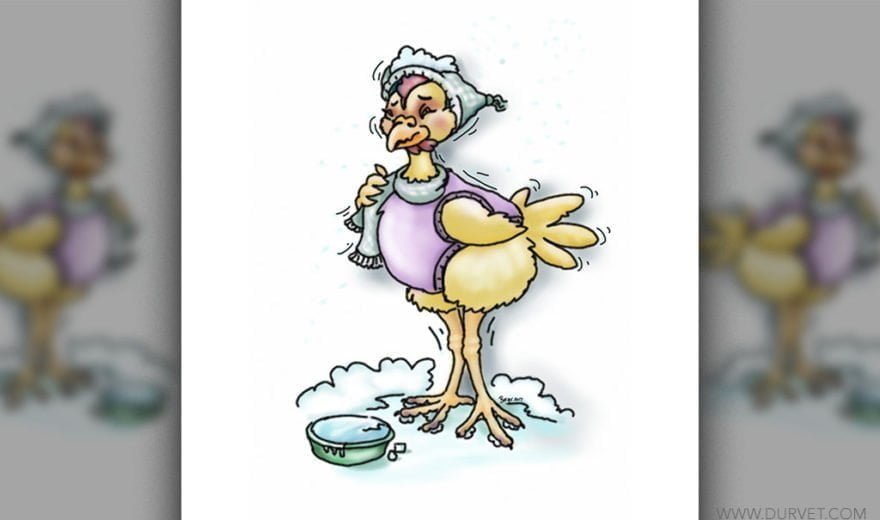
Winter is approaching fast and in some parts of the country has already set in, making it a tad hard for us to accept that winter is going to be here before we know it.
Your chickens have no doubt that the season is changing. Animals in the wild are currently doing their own preparations for the upcoming winter, so why not enjoy the beautiful Fall weather, spend some time outside with your chickens, and take steps to prepare your backyard flock and their housing for the cold winter months to come.
Fall Cleaning
The first step in winterizing your coop should be a good cleaning and inspection of all the elements of your chickens’ housing. A good cleaning can go a long way in preventing disaster and averting unwanted dangers from occupying your flock’s safety zone during the winter. Pull down any fans you had installed for the summer, clean them, and put them away for next year. Check all roosts and perches for shards and splinters. If your coop has flooring, check that it is strong and intact.
Rotting wood can lead to holes in the flooring which can become an open invitation to predators or rodents. If your coop is equipped with electricity and plumbing, check all wiring to be sure it's all intact and properly insulated, and that no rodents have chewed at the wires throughout the summer. Water is extremely important to all animals, even in the winter. Check your water pipes to make sure there are no leaks and that all the fittings are tight.
If you live in a colder region, you may want to take this opportunity to insulate the pipes to avoid any winter water disasters frozen water and bursting pipes. Frozen water can not only cause pipes to burst, but chickens can't drink a block of ice. Consider a warming plate underneath their waterer or purchase a heated waterer. Before replacing all the ‘furniture’ in the coop, remove all cobwebs and use brushes and scraper to remove old crusty droppings from flooring, nests, and perches. Lastly, disinfect entire coop thoroughly.
Blocking Winter Winds
Putting up plastic or tarps can significantly reduce any cold drafts that may pass through your chickens’ housing. You've worked hard all summer to allow and even encourage the breezes, and now it's time to block them out. While you definitely want to divert the cold winter winds, you will still need airflow to prevent any lack of ventilation and allow for fresh air.Without the proper amount of airflow, the atmosphere can become stuffy, the humidity can rise, and your coop can become a breeding ground for viruses, bacteria, and parasites.
On a regular basis, take note of the direction your winds blow and put up tarps, plastic, or plexiglass on those particular walls. This will block the major wind gusts but still allow for light breezes to pass through. Depending on the design of your coop, try only blocking the winds of the bottom half of your coop, leaving the top open. This will keep the wind gusts away from your chickens yet still allow airflow.
Artificial Heat Sources
Many folks like to include an artificial heat source in their chicken's housing to add to the comfort level. For many chickens, and in many areas of our country, this may not be necessary. Some chickens are more susceptible to cold weather and some regions get quite frigid, so it's a personal choice whether or not you want to add a heat source in the winter. Newer heating elements work with radiant heat. In a nutshell, this means the heater itself isn't extremely hot to the touch but still warms. These tend to be safer than some alternatives.
Radiant heat plates can be mounted on the wall sideways or hung at a certain height so that your chickens can get underneath them. Another heat source option is the heat lamp we all know and most likely have used at some point. Heat lamps have gotten a bad reputation throughout the years due to people not properly using them with key safety factors in mind. Most heat lamps will come with a cover or “cage” that resides below the bulb itself. The design of this cage is intended to make the bulb fall sideways in the event it was to become loose and fall out of the socket.
Making your own secondary cage out of hardware cloth, or something similar, to reinforce what’s already there can add an extra layer of safety. The clamps that come with heat lamps are held together with a butterfly wing nut and have a tendency to loosen if not checked regularly. Forgo the clamp that came with your heat lamp and instead choose to hang the heat lamp with a chain or sturdy wire. This will prevent the heat lamp from falling and causing a fire. Lastly, consider using a 125-watt bulb instead of 250-watt. The lower wattage bulbs work just as well.
Winterizing your coop is imperative. It not only keeps the backyard flock warm and toasty, it protects them from elements and provides the crucial shelter they need. I also like to consider it my “fall cleaning” time as well. With a few checks and adding a few features to your chickens’ coop, you will help them continue to thrive despite the cold.
Here's to happy, healthy and warm chickens!


 BACK TO MAIN BLOG
Comment